Recipe adapted from America's Test Kitchen via the
Cookin' CanuckIngredients
2 cups all-purpose flour
1/4 tsp salt
1 cup (2 sticks) unsalted butter, room temperature
1 cup sugar
1 tsp pure vanilla extract
1 large egg yolk
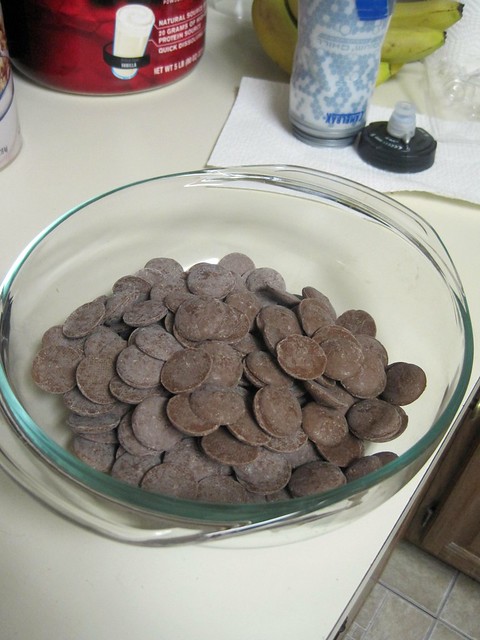
6 oz. bittersweet or semisweet chocolate, chopped
2 oz. high-quality white chocolate
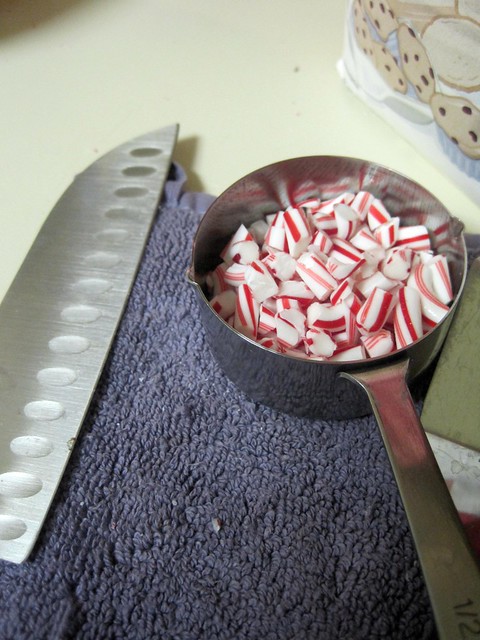
1/2 cup finely chopped red & white candies or candy canes (about 3 ounces)
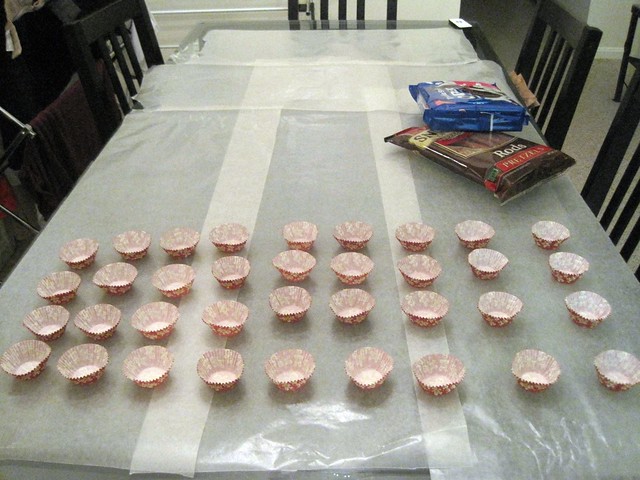
 Photo (c) Christina Saull - All Rights ReservedDirections
Preheat oven to 350 degrees F. Spray a 13x9x2-inch baking pan with cooking spray and line the bottom of the pan with parchment, letting it hang over the sides of the pan.
In a medium bowl, whisk together all-purpose flour and salt. Set aside.
 Photo (c) Christina Saull - All Rights Reserved
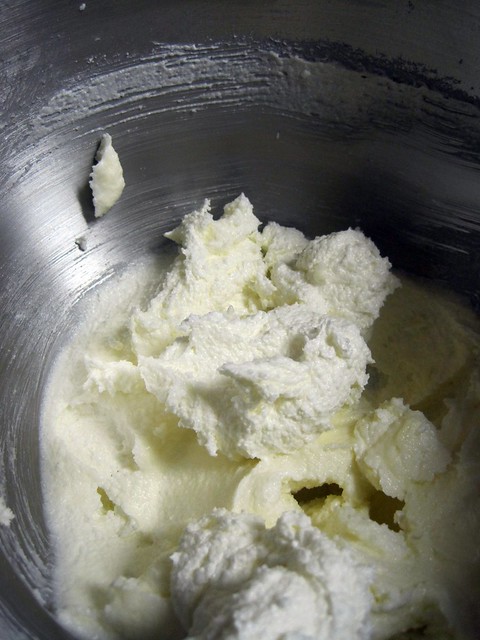
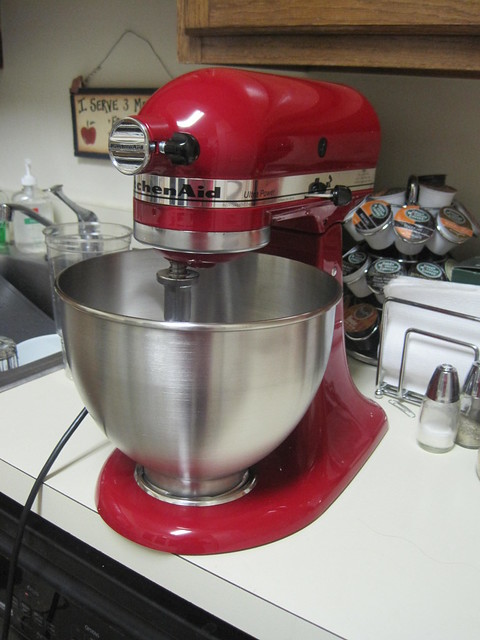
In the bowl of a mixer, beat butter until creamy, about 2 minutes.
 Photo (c) Christina Saull - All Rights Reserved
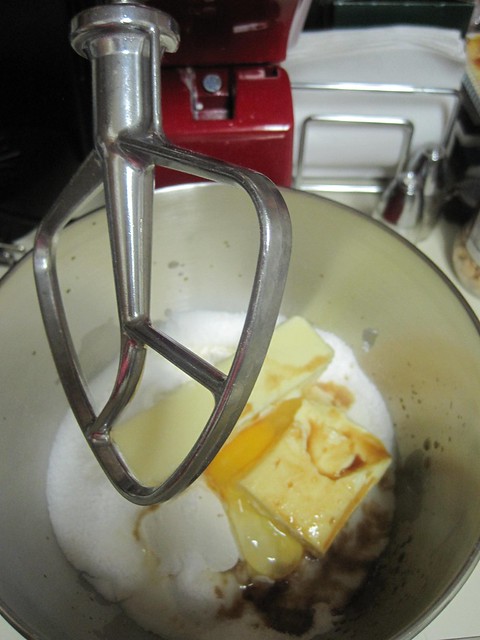
Gradually beat in sugar. Continue to beat for an additional 3 minutes, until the mixture is light and creamy. Scrape the sides of the bowl as needed. Beat in vanilla extract and egg yolk. Turn the mixer to low speed and gradually beat in the flour mixture, until just combined. Do not overmix.
Scatter the dough over the bottom of the prepared pan and gently press it, with slightly moistened fingers, to form a flat layer. Prick all over with a fork.
Bake the cookie layer until golden brown and slightly puffed, and edges are beginning to pull away from the sides of the pan, 25-30 minutes.
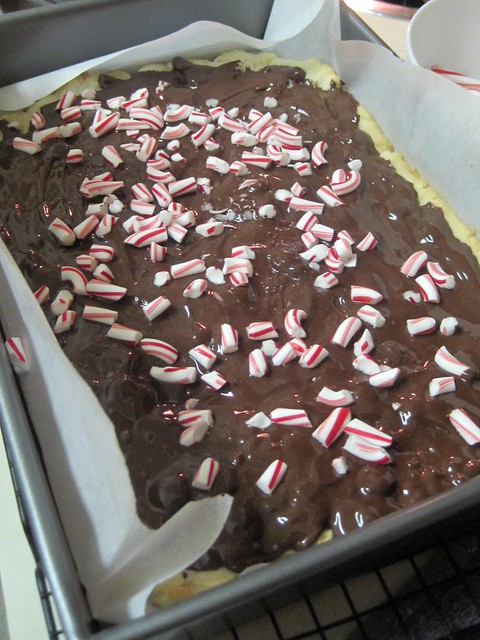
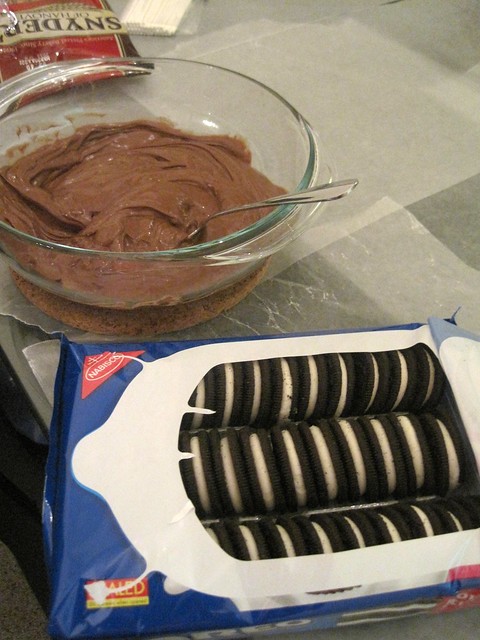
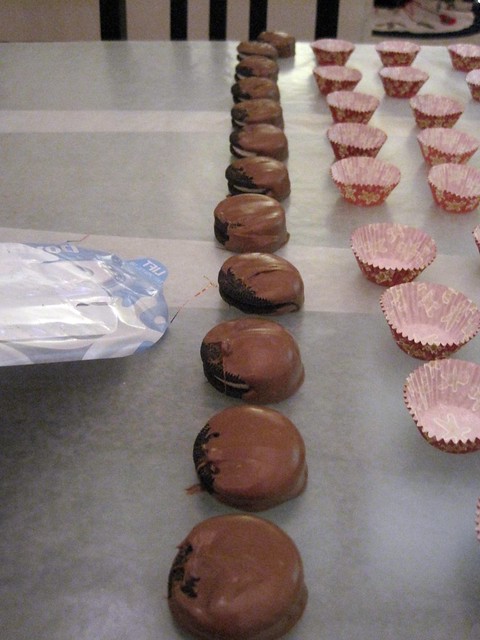
Place on a cookie rack and immediately sprinkle chopped bittersweet or semisweet (or a combination of the two) over the cookie layer. Let the chocolate sit for about 3 minutes. Using an offset spatula, spread the chocolate into an even layer over the surface of the cookies. Immediately sprinkle 3 ounces crushed red and white peppermint candies, or candy canes, over the chocolate layer.
 Photo (c) Christina Saull - All Rights Reserved
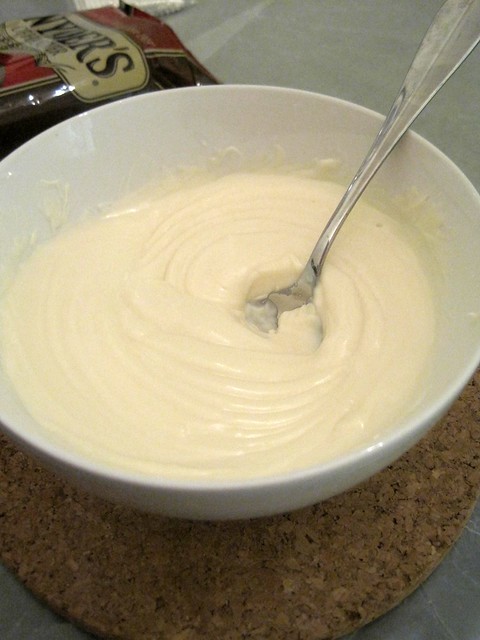
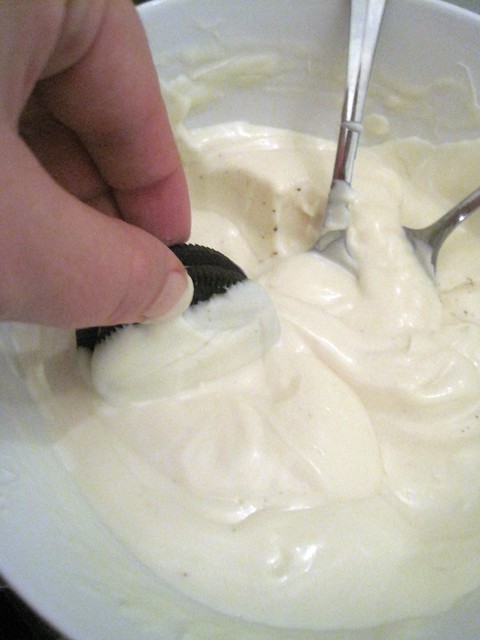
Place chopped white chocolate in a medium metal bowl set over a simmering pot of water. Stir constantly until the chocolate is melted and smooth. Using a fork, drizzle the white chocolate over the peppermint candies. Chill for approximately 30 minutes.
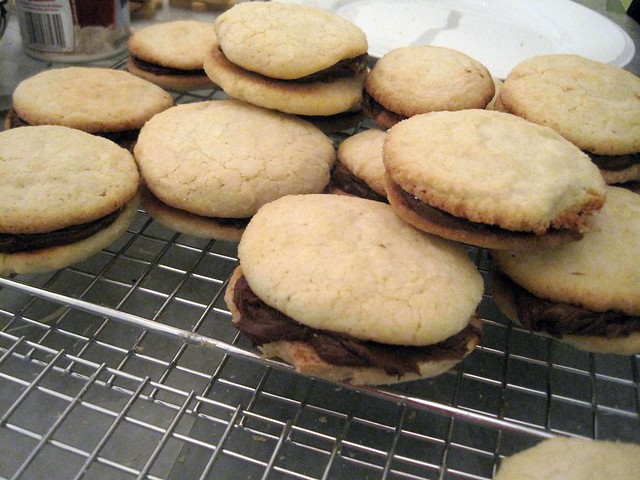
Gripping the overhanging parchment paper, lift the cookies out of the pan and place on a work surface. Using a large, sharp knife, cut the cookies into irregular pieces. This can be stored in an airtight container in a refrigerator for one week.
Chocolate & Peppermint Bark CookiesIngredients2 cups all-purpose flour
1/4 tsp salt
1 cup (2 sticks) unsalted butter, room temperature
1 cup sugar
1 tsp pure vanilla extract
1 large egg yolk
6 oz. bittersweet or semisweet chocolate, chopped
2 oz. high-quality white chocolate
1/2 cup finely chopped red & white candies or candy canes (about 3 ounces)
Directions
Preheat oven to 350 degrees F. Spray a 13x9x2-inch baking pan with cooking spray and line the bottom of the pan with parchment, letting it hang over the sides of the pan.
In a medium bowl, whisk together all-purpose flour and salt. Set aside.
In the bowl of a mixer, beat butter until creamy, about 2 minutes.
Gradually beat in sugar. Continue to beat for an additional 3 minutes, until the mixture is light and creamy. Scrape the sides of the bowl as needed. Beat in vanilla extract and egg yolk. Turn the mixer to low speed and gradually beat in the flour mixture, until just combined. Do not overmix.
Scatter the dough over the bottom of the prepared pan and gently press it, with slightly moistened fingers, to form a flat layer. Prick all over with a fork.
Bake the cookie layer until golden brown and slightly puffed, and edges are beginning to pull away from the sides of the pan, 25-30 minutes.
Place on a cookie rack and immediately sprinkle chopped bittersweet or semisweet (or a combination of the two) over the cookie layer. Let the chocolate sit for about 3 minutes. Using an offset spatula, spread the chocolate into an even layer over the surface of the cookies. Immediately sprinkle 3 ounces crushed red and white peppermint candies, or candy canes, over the chocolate layer.
Place chopped white chocolate in a medium metal bowl set over a simmering pot of water. Stir constantly until the chocolate is melted and smooth. Using a fork, drizzle the white chocolate over the peppermint candies. Chill for approximately 30 minutes.
Gripping the overhanging parchment paper, lift the cookies out of the pan and place on a work surface. Using a large, sharp knife, cut the cookies into irregular pieces. This can be stored in an airtight container in a refrigerator for one week.
Previous treats-a-palooza:
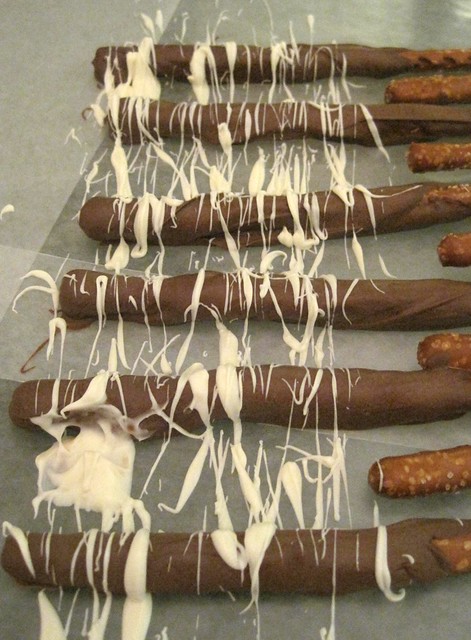
Monday - chocolate covered everything
Tuesday - Gena's sugar cookies